
Never underestimate the opportunities for photography that could come your way on a trekking trip in the Himalayas. If the majestic mountains, sparkling streams, azure skies and diverse flora and fauna is what the landscape offers, the treks will further take you to remote, sparsely populated areas, all of which make for unmissable frames.
● Before your trip, check your camera to make sure everything is working smoothly—the shutter mechanism, aperture diaphragm in your lenses and the exposure metres. Never borrow cameras from friends. If you do, check their status and controls before the trek. Taking chances with untried equipment can lead to bad pictures. A sound knowledge of your equipment is a must. One of India’s famous photographers, the late Mitter Bedi, carried his Hasselblad manual with him even when he was at the peak of his career. He always said that one needed to know one’s camera intimately for its strengths and weaknesses.

● Develop the habit of studying other people’s photographs. A discerning eye should be cultivated to be able to analyse good photography. Today, innumerable websites on the internet offer you a chance to look at other people’s work. Check out travel photography sites and magazines. Before heading to a particular destination, try and see how that place has been shot and what new possibilities you can explore. Study the existing material before you actually get there. A good photograph stimulates new ideas and gives you inspiration to go out there and do great work.
● Equipment tends to feel more and more heavy with each passing minute, especially at higher altitudes, so carry the bare minimum you are sure you will use. I always try and hire a porter for my two camera bags, but often find that when I need a special lens at a crucial moment, the porter is a kilometre or two behind or ahead! Wear a camera jacket or a jacket with several pockets for lenses and filters. A small umbrella or a polythene rain protection sheet will prove useful in sudden showers. Try to carry a tripod along. They can improve your pictures in two ways. First, they stabilise the image, so you can use a smaller aperture, giving you a greater depth of field. Second, you get better compositions with the camera resting steadily on a tripod.
● Every lens should have a UV filter, especially in the mountains, where the air is rarefied and the UV
rays are stronger. This filter also protects against dust and accidents. A polarising filter will make the sky look an attractive deep blue. But you should only use one when the sun is on your left or right and not behind you. Avoid gimmicky filters.
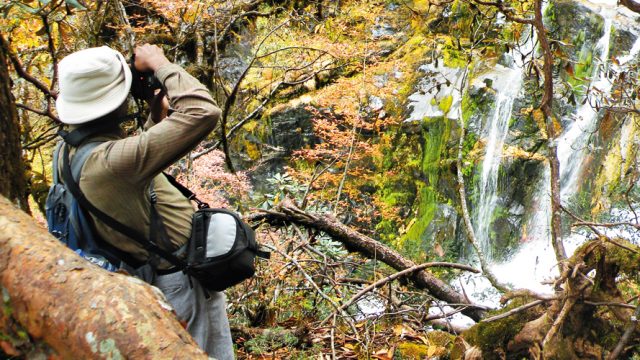
● Try and avoid the typical “Yes, we were there” kind of pictures. Nothing can be duller for your friends! Look for new angles when shooting landscape. Try and capture people in candid shots instead of making them pose in front of a waterfall, snow-clad peak or temple. A photograph should say something. A plain and simple shot does not convey much. A successful image is one that holds your attention, or else it’s nothing but a dull statement. Never be scared or shy of experimenting with exposure and compositions. It invariably turns out to be a learning experience.
● Try and shoot early in the morning or late in the afternoon. The best pictures happen when the low angles of light create shadows, which lend depth to an image. For early morning pictures, be prepared to leave the warmth and comfort of your sleeping bag and brave the early morning chill.

● Mountains often present problems of contrast that your film/ sensors simply cannot deal with. A typical scene may have snow peaks and bright skies with dark rocks or forests underneath. Both elements need different exposures and the contrast ratio may be higher than what the films or sensors permit. Two aids that can help to sort out contrast are the Gradual Neutral Density Filter and Photoshop software on a computer, which can be used later to darken areas at the base. Always bracket your exposures. If, for example, you are getting a reading of f11/ 250, also shoot the same frame using one stop under (f16/ 250) and one stop over (f8/ 250). The world’s best photographers also bracket for the best possible exposure.
● Predicting weather in the hills is difficult business. What is certain is that good weather will be followed by bad and vice-versa. Instead of just waiting for good weather, try experimenting. Storms, clouds and rain present photo opportunities of a different kind.
● Keep a record of everything you shoot and make notes of what you did. After processing, you should check what you did and try to figure out how it can be improved in similar circumstances in the future.
● If you are using the traditional SLRs, make sure you have enough film roles. The film should be fresh and if you can, try a test process before you leave, especially if it’s a film you haven’t used before.