Destinations
Destinations
India
International
Experiences
Experiences
Adventure
Heritage
Food and Drink
Shopping
Spiritual
Places of Interest
Nature
Stay
Stay
Luxury
Budget
Home Stay
Sustainable
Wellness
What's new
Editor’s Picks
Editor’s Picks
Celebrating People
Hall of Frame
Responsible Tourism
Subscribe
Outlook Traveller
India
OT Itinerary: How To Spend The Perfect 3 Days In Ooty
Waquar Habib
5 min read
Adventure
Adrenaline Alert: Your Ultimate Guide To The Kedartal Trek
Waquar Habib
5 min read
Home Stays
Tea, Tattoos, And Tradition: Exploring A Konyak Home
Kartikeya Shankar
4 min read
India
OT Itinerary: Your Guide To Exploring Yelagiri In 2 Days
OT Staff
3 min read
International
AlUla's Melanie De Souza On Tourism, Sustainability And More
Himakshi Panwar
5 min read
Destinations
Adventure
OT Itinerary: Your Guide To Exploring The Grand Canyon In 3 Days
International
The Best Diving Spots To Check Out On Your Florida Trip
International
OT Itinerary: A 3-Day Guide For An Unforgettable Tokyo Stay
International
Check Out These Historical Sites On Your Italy Tour
International
OT Itinerary: Trailing Through Peru In 10 Days
International
OT Itinerary: How To Spend The Perfect 3 Days In Japan
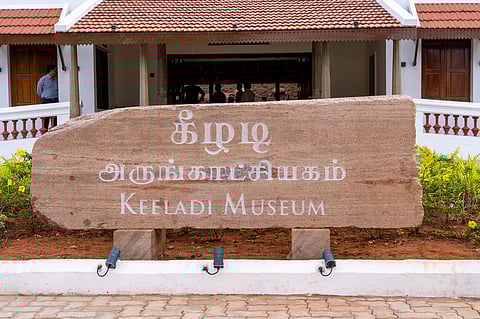
Heritage
Keeladi: Etched In Time
India
All About Tamil Nadu's Blue Flag Beach 'Kovalam'
Read More
OT Recommends: Destination Thailand
International
The Best Textiles And Fabrics To Purchase On Your Thailand Tour
eisha g
3 min read
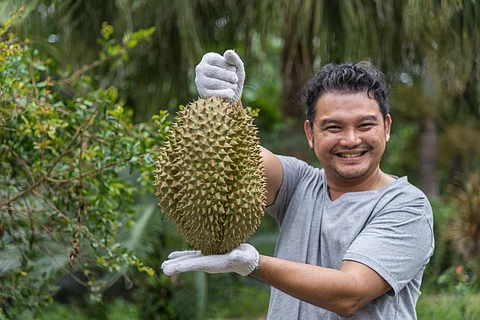
International
Offbeat Alert: Go On A Tour Of Fruit Farms When In Thailand
OT Staff
3 min read
Editor’s Picks
Things To Know Before Going On Your First Thailand Tour
eisha g
4 min read
Places of Interest
5 Interesting Buddhist Monasteries Of Thailand
eisha g
4 min read
International
All You Need To Know About Thailand’s Ancient Town Of Si Thep
Nidhi Kadere
4 min read
Shopping
Shopping In Thailand: 5 Unique Things To Buy
OT Staff
3 min read
International
Don't Overlook This Thai Town's Gorgeous Indigo Craftsmanship
eisha g
2 min read
International
Travel Diaries: Living Like A Local In Bangkok
Rohith Ashok
2 min read
Read More
Outlook Traveller
www.outlooktraveller.com
INSTALL APP